The Simple Cleaning Trick That Helps Remove Black Grime From Tile Grout
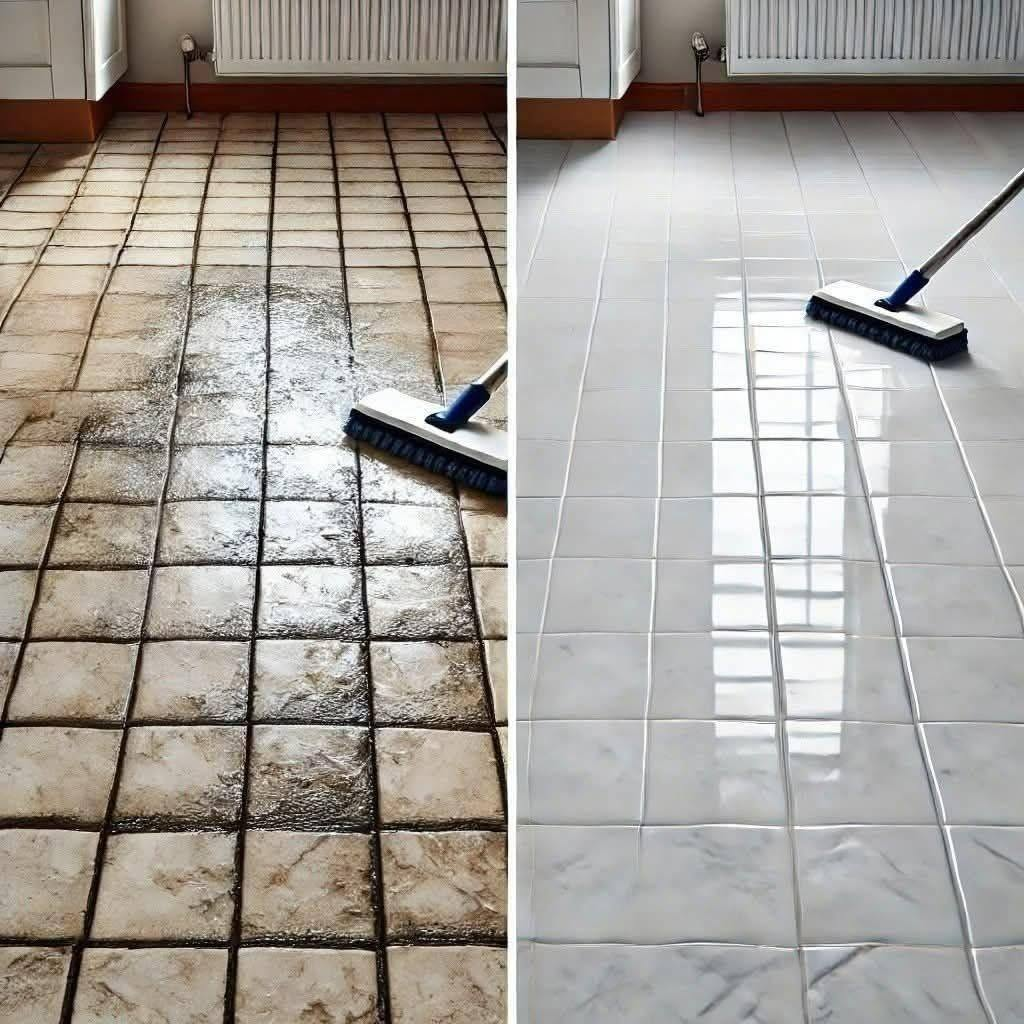
Tile floors are popular in kitchens, bathrooms, hallways, and living rooms because they are durable, attractive, and relatively easy to maintain. However, even when the tiles themselves look clean, the grout lines between them can gradually become dark, discolored, and dirty. These narrow spaces often collect dust, grease, soap residue, and other debris that ordinary mopping may not completely remove.
The good news is that cleaning dirty grout does not always require expensive equipment or specialized cleaning products. With a few basic household supplies, a suitable cleaning solution, and the right technique, you can often improve the appearance of grout lines and make tiled floors look noticeably fresher.
One simple approach involves using warm water, a small amount of baking soda when appropriate for the tile and grout, and a soft brush to loosen accumulated dirt. The key is to use the right method for your particular flooring material, because not every tile or grout surface responds well to the same cleaning ingredients.
Here is how to approach this practical cleaning task, what to avoid, and how to keep grout looking cleaner for longer.
Why Do Grout Lines Become Black?
Grout is the material used to fill the spaces between individual tiles. Depending on the installation, it may be cement-based, epoxy-based, or made from another specialized material.
Although grout creates a neat finish and helps fill the gaps between tiles, some varieties are porous. This means they can absorb moisture and allow small particles to become trapped within the surface.
Several everyday factors contribute to dark grout lines.
1. Dust and Everyday Dirt
Every time someone walks across a tiled floor, shoes and slippers can carry tiny particles of dirt indoors. These particles settle on the floor and become concentrated in grout lines, where they can be more difficult to remove.
A regular mop may clean the tile surface without reaching deeply into the narrow joints. Over time, the remaining dirt accumulates, making the grout appear gray or black.
2. Cooking Grease
Kitchen floors are particularly vulnerable to grease. Small amounts of cooking oil, food splashes, and airborne grease can settle on nearby surfaces.
When grease combines with dust, it creates a sticky layer that holds additional dirt. This buildup can make grout look darker than the surrounding tiles.
Using a cleaning solution suitable for the flooring material can help loosen this residue.
3. Soap Residue and Moisture
Bathrooms frequently experience a combination of moisture, soap residue, and everyday dirt.
Soap deposits can accumulate on tile surfaces and grout joints, especially in areas that are not rinsed thoroughly. In damp environments, some types of discoloration may also be associated with mildew or other microbial growth.
If dark marks repeatedly return in wet areas, it is worth investigating the source of the moisture rather than relying exclusively on repeated scrubbing.
4. Aging and Discoloration
Sometimes, grout looks dirty even after careful cleaning because the material itself has changed color.
Cement-based grout can become stained, worn, or discolored as it ages. Previous cleaning products may also leave residues that affect its appearance.
In these situations, cleaning may improve the surface without restoring the grout to its original color.
The Simple Household Method for Cleaning Grout
A useful starting point is to combine ordinary cleaning techniques with a mild cleaning mixture.
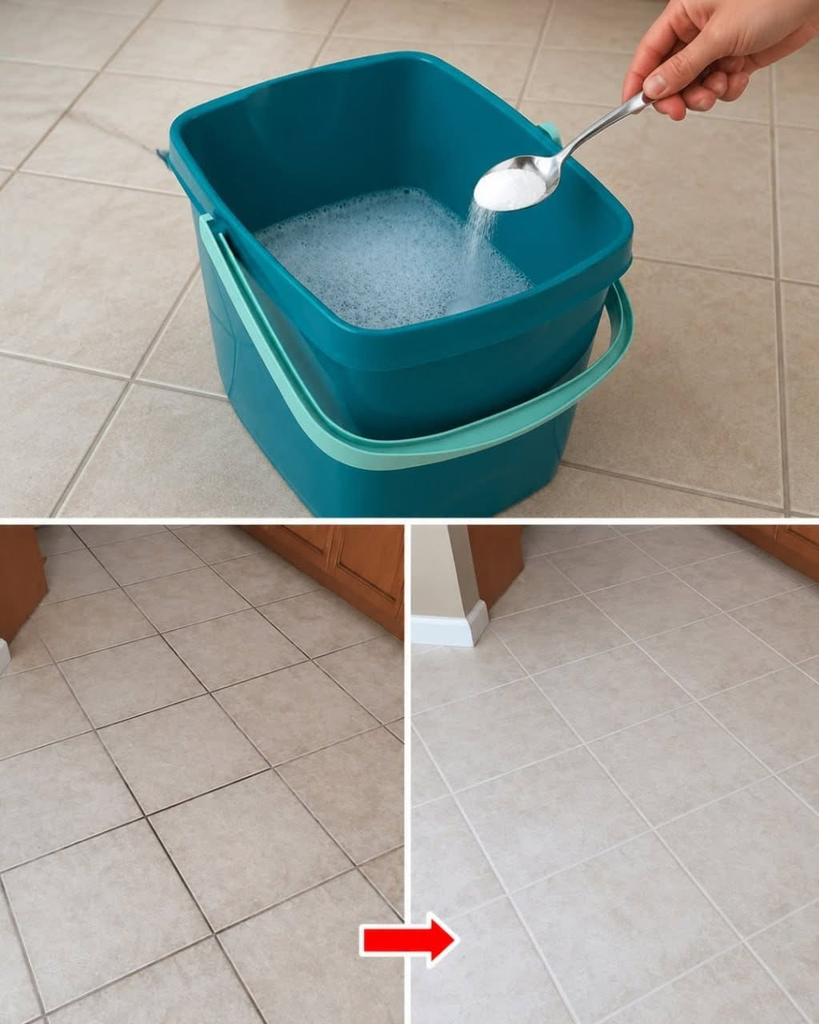
For suitable ceramic or porcelain tile floors, baking soda may help loosen light surface dirt when used as a gentle cleaning aid. However, it is not appropriate for every flooring material, and it should not be treated as a universal solution.
What You Will Need
Gather the following supplies before starting:
A bucket of warm water
A small amount of mild, pH-neutral floor cleaner
Baking soda, if suitable for the tile and grout
A soft nylon cleaning brush
A microfiber cloth
A clean mop
A second bucket or clean water for rinsing
Rubber gloves, if recommended for the cleaning product
You do not necessarily need every item for every floor. For routine cleaning, warm water and a suitable floor cleaner may be sufficient.
Avoid using a hard wire brush, abrasive scouring pad, or sharp object to scrape grout lines. These tools can damage the grout or scratch nearby tile surfaces.
Step 1: Remove Loose Dirt
Begin by sweeping or vacuuming the floor.
This step is important because loose dust and grit can scratch some surfaces when rubbed around during wet cleaning.
Pay particular attention to corners, areas beneath cabinets, and the spaces around furniture where debris tends to collect.
If you begin scrubbing before removing loose dirt, you may simply move the particles around rather than remove them.
Step 2: Prepare a Mild Cleaning Solution
Fill a bucket with warm water and add a small amount of a pH-neutral cleaner intended for your particular flooring.
Follow the product’s dilution instructions instead of assuming that a stronger concentration will produce better results.
For suitable ceramic or porcelain tiles with compatible grout, you may also test a small amount of baking soda mixed with water to create a soft paste.
Do not automatically apply baking soda to natural stone, polished surfaces, delicate finishes, or unfamiliar flooring materials. Its mild abrasiveness may dull or scratch some surfaces.
If you are unsure what type of tile you have, begin with a cleaner specifically recommended for that material.
Step 3: Test a Small, Hidden Area
Before treating the entire floor, test the cleaning method in an inconspicuous location.
Apply a small amount of the solution, gently clean the grout, and rinse the area thoroughly.
Allow it to dry so you can inspect the result.
Look for changes in color, unwanted residue, surface dullness, or damage. If anything appears unusual, stop and choose a method more appropriate for the flooring.
Testing is particularly important when working with older tiles, colored grout, decorative finishes, and natural stone.