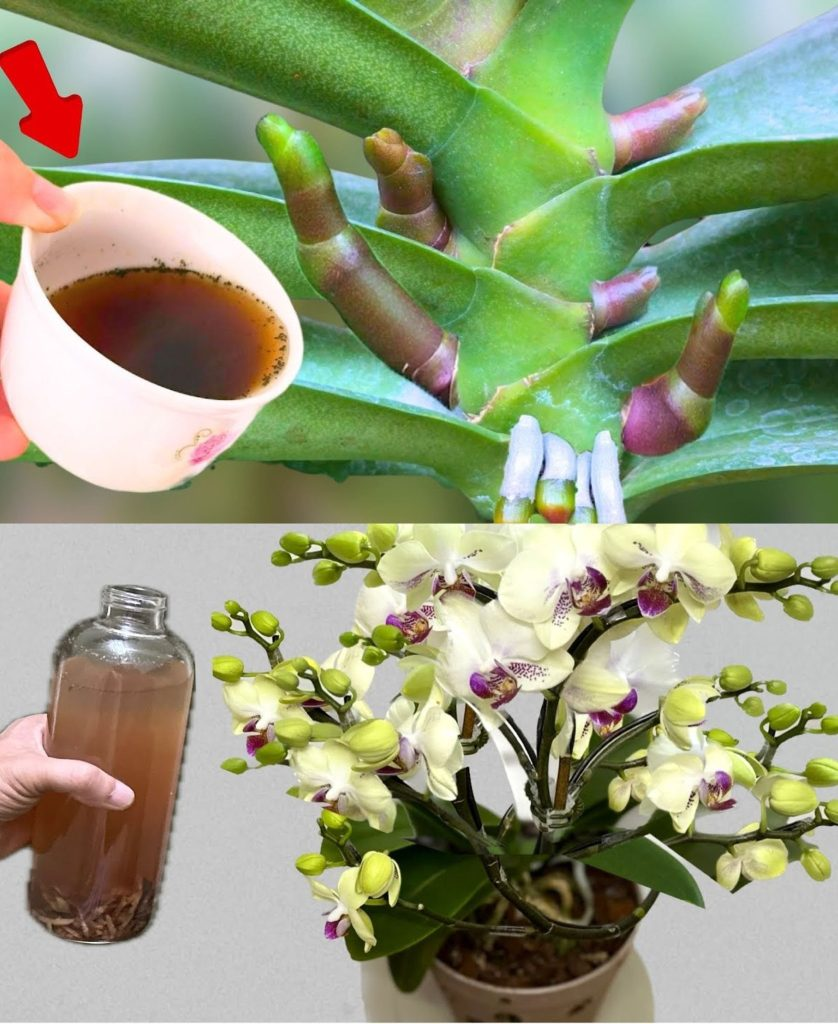
1 lemon is all that’s needed to revive an orchid. Here’s how it work
Before trying to save an orchid, it is important to determine what is actually wrong.
Different symptoms can indicate different problems.
Yellow Leaves
Yellow leaves are one of the most common concerns among orchid owners.
However, not every yellow leaf means the plant is dying.
Phalaenopsis orchids naturally lose their oldest lower leaves as they grow. If one lower leaf gradually turns yellow while the remaining leaves look healthy, this may simply be part of the plant’s normal life cycle.
On the other hand, several yellowing leaves may indicate:
Excessive watering.
Poor drainage.
Damaged roots.
Insufficient light.
Sudden temperature changes.
Other environmental stress.
Look at the roots and growing medium before deciding what treatment is necessary.
Soft or Mushy Roots
Healthy Phalaenopsis roots are generally firm and may appear green when wet or silvery when dry.
Roots that are brown, mushy, hollow, or unpleasant-smelling may be suffering from rot.
Root rot commonly develops when roots remain wet for too long, particularly when the growing medium does not provide enough air circulation.
If many roots are damaged, the plant may struggle to absorb the water and nutrients it needs.
Wrinkled Leaves
Wrinkled or limp leaves can indicate dehydration.
However, this does not always mean the orchid needs more water.
A plant with damaged roots may be unable to absorb sufficient moisture even when its potting medium is wet.
Adding more water without examining the roots can make the situation worse.
Flowers Falling Off
Orchid flowers do not last forever.
Even healthy orchids eventually lose their blooms.
Phalaenopsis flowers commonly remain attractive for several weeks or sometimes longer, depending on the variety and growing conditions.
When flowering ends naturally, the plant may enter a period of vegetative growth before producing another flower spike.
Therefore, losing flowers does not automatically mean the orchid needs to be revived.
3. How to Save an Orchid With Damaged Roots
If your orchid has soft, brown, or rotten roots, correcting the root problem is more important than applying household ingredients.
Follow these steps carefully.
Step 1: Remove the Orchid From Its Pot
Gently remove the plant from its container.
If the roots are stuck to the sides, avoid pulling forcefully because healthy orchid roots can be delicate.
Step 2: Remove the Old Growing Medium
Carefully remove loose pieces of bark, moss, and other potting materials.
You may need to rinse the roots gently with clean, lukewarm water to see their condition more clearly.
Step 3: Inspect the Roots
Healthy roots should feel firm rather than mushy.
Remove clearly dead or rotten roots using clean, sterilized cutting tools.
Avoid cutting healthy roots simply because they look different in color.
Step 4: Choose Fresh Orchid Potting Medium
Use a specialized orchid mix, commonly made from materials such as fir bark, perlite, and sometimes sphagnum moss.
The purpose of this mixture is to provide both moisture and air circulation.
Ordinary garden soil is generally unsuitable for Phalaenopsis orchids because it can retain too much water around their roots.
Step 5: Repot Carefully
Choose a pot with drainage holes.
Place the orchid in the container and gently arrange the remaining healthy roots inside the potting medium.
Do not bury the crown, which is the central growing point where the leaves emerge.
Keeping this area relatively dry helps reduce the risk of crown rot.
Step 6: Adjust Your Watering Routine
Water only when the growing medium is approaching dryness.
The exact timing depends on temperature, humidity, pot size, and the type of growing medium.
Avoid leaving the pot standing in water.
4. The Right Way to Water an Orchid
Watering mistakes are among the most common reasons indoor orchids struggle.
Unlike many ordinary houseplants, orchids such as Phalaenopsis naturally grow attached to trees in tropical environments.
Their roots are adapted to receiving moisture from rain and humid air while also drying between periods of wetness.
This is why their growing medium needs good drainage and airflow.
Here are some useful watering practices:
Check the condition of the potting medium before watering.
Use room-temperature water.
Allow excess water to drain completely.
Avoid leaving water trapped in the decorative outer container.
Do not allow the orchid to remain continuously wet.
Avoid pouring water into the crown of the plant.
If water accidentally collects between the leaves, gently remove it with a clean tissue.
Transparent orchid pots can be particularly helpful because they allow you to inspect the roots and monitor moisture levels.
5. How Much Light Does an Orchid Need?
Light is another important factor in orchid health.
Many people place orchids in dark corners because they assume these plants prefer very little sunlight.
Although orchids generally dislike harsh direct sunlight, they still require adequate indirect light to grow and flower.
A bright location near an east-facing window can work well.
A north-facing window may also provide suitable light depending on the climate and building.
If the plant receives strong afternoon sunlight, a sheer curtain can help prevent leaf scorching.
One useful clue is leaf color.
Healthy Phalaenopsis leaves are commonly medium green.
Very dark green leaves may indicate insufficient light, while yellowish or reddish discoloration can sometimes indicate excessive light or other stress.
Leaf color should always be considered alongside the plant’s overall condition.